For a fast and stable network, nothing beats a wired Cat6 connection. But to unlock that top-tier performance, you must follow a precise, standardized wiring diagram. This guide will provide everything you need, from step-by-step instructions to troubleshooting tips, so you can create flawless, high-performance Ethernet cables every time.
Understanding Cat6 Cables
What is a Cat6 Cable?
Cat6 is a standardized twisted-pair cable for Ethernet that is backward compatible with previous standards like Cat5 and Cat5e. It is defined by its higher performance, supporting frequencies up to 250 MHz. This allows it to handle data speeds of 1 Gbps up to 100 meters and up to 10 Gbps in shorter-distance runs (under 55 meters).
Differences Between Cat5, Cat5e, and Cat6
While they may look similar, each category has distinct performance capabilities:
|
Cable Type
|
Max Speed (at 100m)
|
Max Bandwidth
|
Best For
|
|
Cat5e
|
1 Gbps
|
100 MHz
|
Basic home networks, budget installations, and standard HD streaming.
|
|
Cat6
|
1 Gbps (10 Gbps < 55m)
|
250 MHz
|
Modern homes and offices, 4K streaming, online gaming, and future-proofing.
|
|
Cat6A
|
10 Gbps
|
500 MHz
|
Data centers, commercial buildings, and high-interference environments.
|
|
Cat7
|
10 Gbps
|
600 MHz
|
Heavily shielded applications; often overkill and more expensive for residential use.
|
Advantages of Using Cat6
- Higher Performance: With support for up to 10 Gbps speeds, Cat6 is ready for the next generation of internet services and network devices.
- Future-Proofing: Installing Cat6 today ensures your network infrastructure won’t be a bottleneck for years to come.
- Improved Reliability: The stricter manufacturing standards and higher bandwidth of Cat6 result in fewer errors and a more stable signal.
Components of Cat6 Wiring
Cable Structure
A Cat6 cable is more than just a plastic tube with wires. Inside, you’ll find:
- Outer Jacket: A durable sheath that protects the internal components.
- Four Twisted Pairs: Eight individual copper wires twisted into four pairs. Each pair has a specific color code. The twisting is crucial for preventing signal interference.
- Spline (or Separator): Many Cat6 cables include a plastic divider running down the center. This spline physically separates the four twisted pairs, further reducing crosstalk and improving performance.
Connectors and Plugs
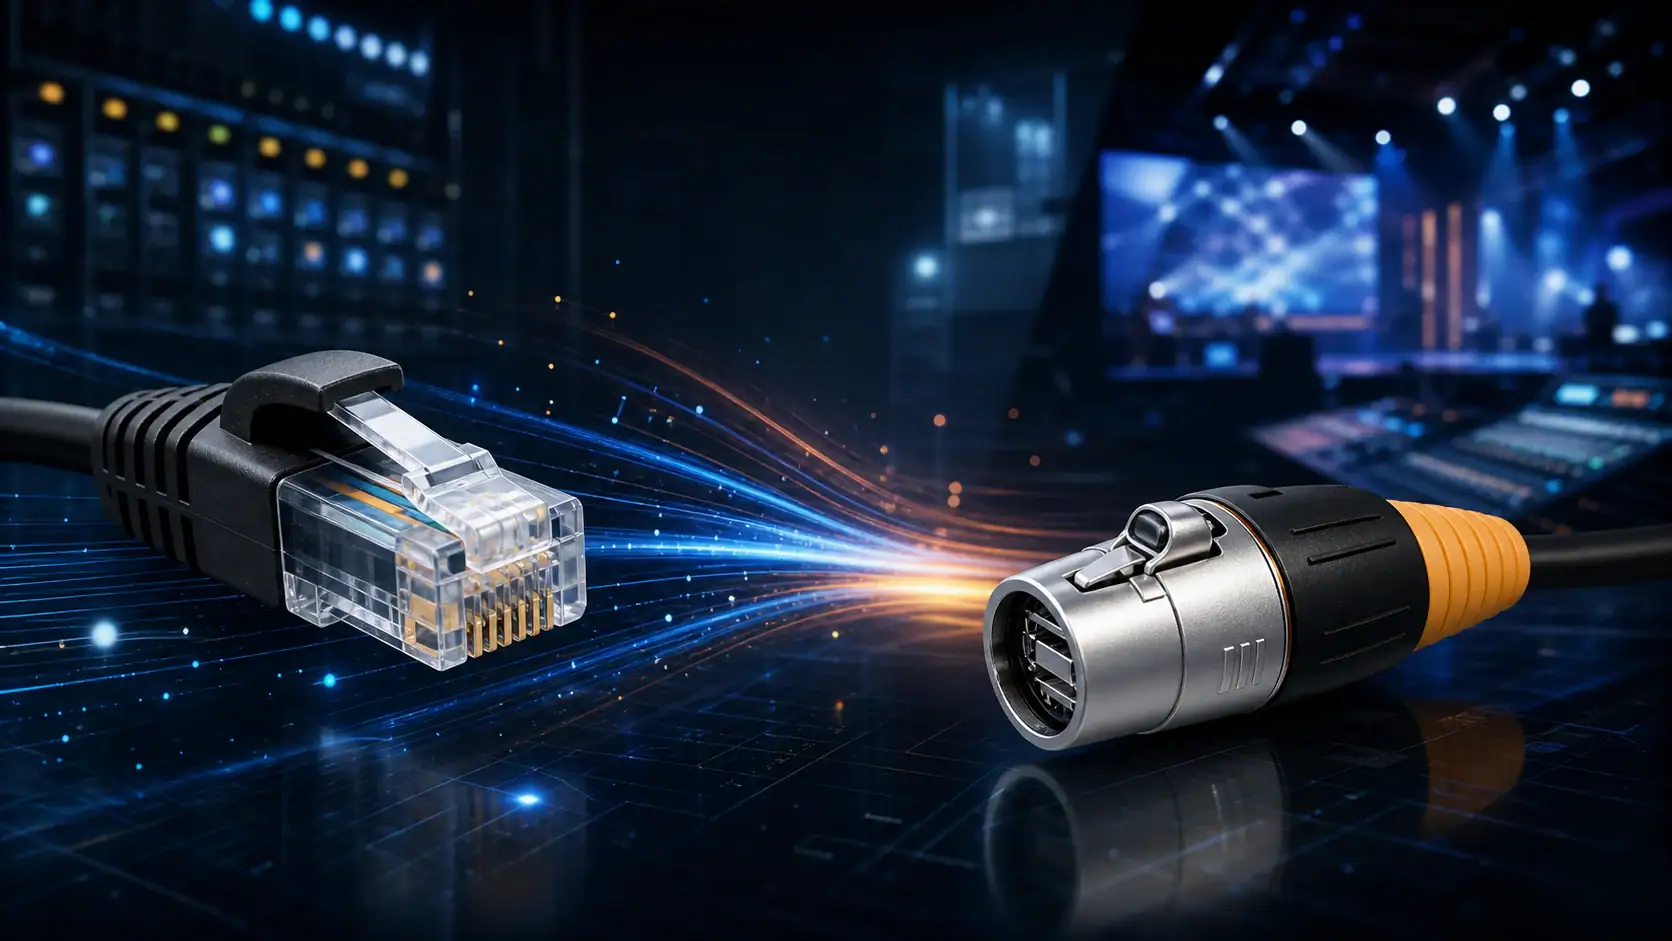
- RJ45 Connectors: This is the standard modular plug found at the end of an Ethernet cable. It’s essential to use RJ45 connectors specifically rated for Cat6, as they are designed to accommodate the thicker wires and often feature staggered pins for better performance.
- Keystone Jacks: For wall installations, you’ll terminate the cable into a keystone jack, which then snaps into a wall plate for a clean, professional finish.
Tools Required for Wiring
Having the right tools is non-negotiable for a successful installation:
- Cat6 Cable: Unshielded (UTP) for most uses, or Shielded (STP) for electrically noisy environments.
- Cat6 RJ45 Connectors
- Crimping Tool: To securely attach the RJ45 connector.
- Cable Stripper/Cutter: For safely removing the jacket and making clean cuts.
- Ethernet Cable Tester: The most important tool for verifying your work and saving hours of troubleshooting.
- Punch-Down Tool: Required only if you are using keystone jacks or patch panels.
Cat 6 Wiring Standards
TIA/EIA Standards
The Telecommunications Industry Association (TIA) and Electronic Industries Alliance (EIA) are the organizations that create the standards for network cabling. Their TIA/EIA-568 standard defines the wiring schemes that ensure cables work universally.
Wiring Schemes: T568A and T568B
This is the core of any wiring diagram. The only difference between the two is the swap of the green and orange wire pairs.
- T568B: Is the far more common standard used in the US and for new network installations. For consistency and to align with industry practice, we recommend using T568B for all your projects.
- T568A: Is primarily specified for U.S. government contracts.
The Golden Rule: Choose one standard (T568B) and use it on both ends of the cable. Consistency is key. A cable with T568A on one end and T568B on the other is a “crossover” cable, which is now obsolete for most applications.
PoE (Power over Ethernet) Considerations
PoE is a technology that allows a single Ethernet cable to carry both data and electrical power. This is incredibly useful for devices like security cameras, VoIP phones, and wireless access points. Cat6 is an excellent choice for PoE applications because its thicker copper conductors can handle the power delivery more efficiently and with less heat buildup than older Cat5e cables.
Straight-Through vs. Crossover Cables
There are two types of cables you can make with these standards:
-
Straight-Through Cable: Both ends of the cable are wired to the same standard (e.g., T568B on End 1 and T568B on End 2). This is the standard for virtually all modern connections, such as connecting a computer to a router, switch, or wall jack.
-
Crossover Cable: One end is wired to T568A and the other to T568B. Historically, these were used to connect two computers directly without a switch. However, modern network devices have a feature called Auto-MDI/MDIX that automatically detects the cable type, making crossover cables almost entirely obsolete.
For any project today, you will almost certainly be making a straight-through T568B cable.
Step-by-Step Cat 6 Wiring Diagram
Ready to make a cable? Let’s walk through it step-by-step using the T568B standard.
Step 1: Cut and Strip the Cable
Cut the cable to your desired length. Using your cable stripper, carefully score and remove about 1 inch of the outer jacket from the end of the cable. Be gentle—you don’t want to nick the twisted pairs inside.
Step 2: Un-twist and Arrange the Wires
Inside, you’ll see four twisted pairs of wires. Separate and untwist them completely so you have eight individual wires. To make them easier to handle, straighten them out as much as possible.
Step 3: Put the Wires in Order (T568B Diagram)
This is the most important step. Straighten the wires and arrange them from left to right in the T568B color order: White/Orange, Orange, White/Green, Blue, White/Blue, Green, White/Brown, Brown.
Step 4: Trim the Wires
Pinch the wires firmly to keep them flat and in order. Use the cutter on your crimping tool to trim the ends so they are perfectly even and about half an inch long from the base of the jacket. A clean, straight cut is crucial.
Step 5: Insert Wires into the RJ45 Connector
Hold the RJ45 connector with the plastic tab facing down and the copper pins facing up. Carefully slide your aligned bundle of wires into the connector. Push firmly until all wires have passed the front edge of the connector and are pressed against the end. Double-check the color order one last time through the clear plastic.
Step 6: Crimp the Connector
Carefully place the connector into the corresponding slot on your crimping tool. Squeeze the handle firmly and decisively. You should hear a “crunch” as the copper pins pierce the wires and the tool secures the plastic strain-relief clamp onto the cable jacket.
Step 7: Repeat on the Other End & Test Your Cable!
Now, repeat steps 1-6 on the other end of the cable using the same T568B standard. Once you’re done, plug both ends into your Ethernet tester. A good cable will show all 8 lights flashing in sequence. If any lights are out of order or don’t light up, it means you have a fault, and you’ll need to cut that end off and try again.
Common Mistakes and How to Avoid Them
- Incorrect Wire Order: This is the #1 mistake. Always double-check the T568B sequence before crimping.
- Wires Not Fully Inserted: If the wires don’t touch the end of the connector, the connection will fail.
- Jacket Not Secured: Ensure the outer jacket is pushed far enough into the connector so the crimper can clamp down on it. This protects the cable from failing when pulled.
- Using the Wrong Connectors: Using a Cat5e connector on a Cat6 cable can lead to a poor connection because the wire channels are too small.